How to recover an iCloud backup
With iCloud, you can recover data from any iOS device in just seven steps.
Although Apple products are known for their high performance and durability, problems with your iPhone, iPad, or Apple Watch can arise at any time. Fortunately, backing up Apple devices to iCloud is simple. However, just like with the best data recovery tools, you'll need to know how to restore a backup from iCloud in case something goes wrong.
We have thus provided these seven simple steps to help you reset your iOS device using an iCloud backup. Although iCloud is one of the better cloud storage options as one can open it in a new tab, it has one significant drawback: you must wipe your device completely before uploading a backup. If you require a fix for this problem, skip to step 7 of this article.
How to restore an iCloud backup: Setting up
Before restoring a device, you must configure iCloud's backup feature because there won't be anything to restore otherwise.
You must configure the iCloud backup before you may restore your iOS device from a backup. The best time to do this is when you first set up your device, but you can do it whenever you choose.
Go to the Settings app and tap on your name at the top to get started. Then, select "iCloud" and then "Backup" from the list. Ensure that "Backup" is turned on. iCloud will automatically back up your data when your device is locked, plugged in, and connected to WiFi after backup has been enabled.
To manually initiate an iCloud backup, go to Settings > iCloud > Backup and press "Back Up Now." Your Apple device can always be reset to the most recent iCloud backup if you encounter a technical problem or need to recover lost data.
Remember that the complimentary iCloud account that comes with your Apple ID only offers 5GB of storage space. The majority of Apple’s products have much more internal capacity than that. For instance, the iPhone 13 has at least 128GB of internal storage.
Consider eliminating any unnecessary files or upgrading to iCloud+, which starts at $0.99 per month for 50GB of storage, if you try to backup your smartphone to iCloud and discover that your iCloud storage is full.
Step 1: Get ready for a factory reset on your device
You must carry out a factory reset prior to restoring your device from a backup using the standard Apple procedure. This implies that you must delete all of the content that is currently on your device. You can work around this by utilising third-party software if you don't want to perform a reset. To learn how to restore from a backup using third-party software, skip to step 7.
Examine your notes, files, images, and any other apps you think may contain crucial information. After you complete the reset, anything that was added since your most recent backup will be irretrievably gone.
Step 1b (Optional): Disconnect your gadget (Apple Watch only)
Resetting an Apple Watch entails an extra step.
You must unpair your Apple Watch from your iPhone as a separate step before moving on to step 2 if you're resetting an Apple Watch.
Open the Apple Watch app on your iPhone and go to My Watch > All Watches to get started. To unpair an Apple Watch, tap the details button next to the watch you wish to do so. The system will prompt you to decide whether to keep or cancel your mobile plan. Keep it, because you will soon restore it from a backup.
Before continuing to the next step, tap once more to confirm, then enter your Apple ID password to finish the unpairing procedure.
Step 2: Reset your device
Go to Settings > General > Transfer or Reset [Device] once you are certain that nothing crucial will be lost. To start the factory reset, tap "Erase All Content and Settings" after that. You will now be required to enter your Apple ID password or device passcode.
Wait for the reset to finish after entering the passcode. Depending on how much stuff is already on your device, this can take a while. When you see the ‘Hello’ screen from when you first set up your iOS device, you will know the reset was completed.
Step 3: Configure and turn on your gadget
After a reset, you'll need to perform an initial installation once more.
You will need to go through the basic setup procedures the same way you did when you originally acquired your device because your iOS installation is now essentially brand new. Tap the ‘Hello’ screen to get started, then select your language.
To configure your device and connect it to the internet via WiFi or cellular data, simply follow the onscreen instructions. Set up your passcode, Face ID, and Touch ID lastly. Not all Apple devices will have all of these functions, so keep that in mind. You are currently prepared to restore your iCloud backup.
Step 4: Restore iCloud
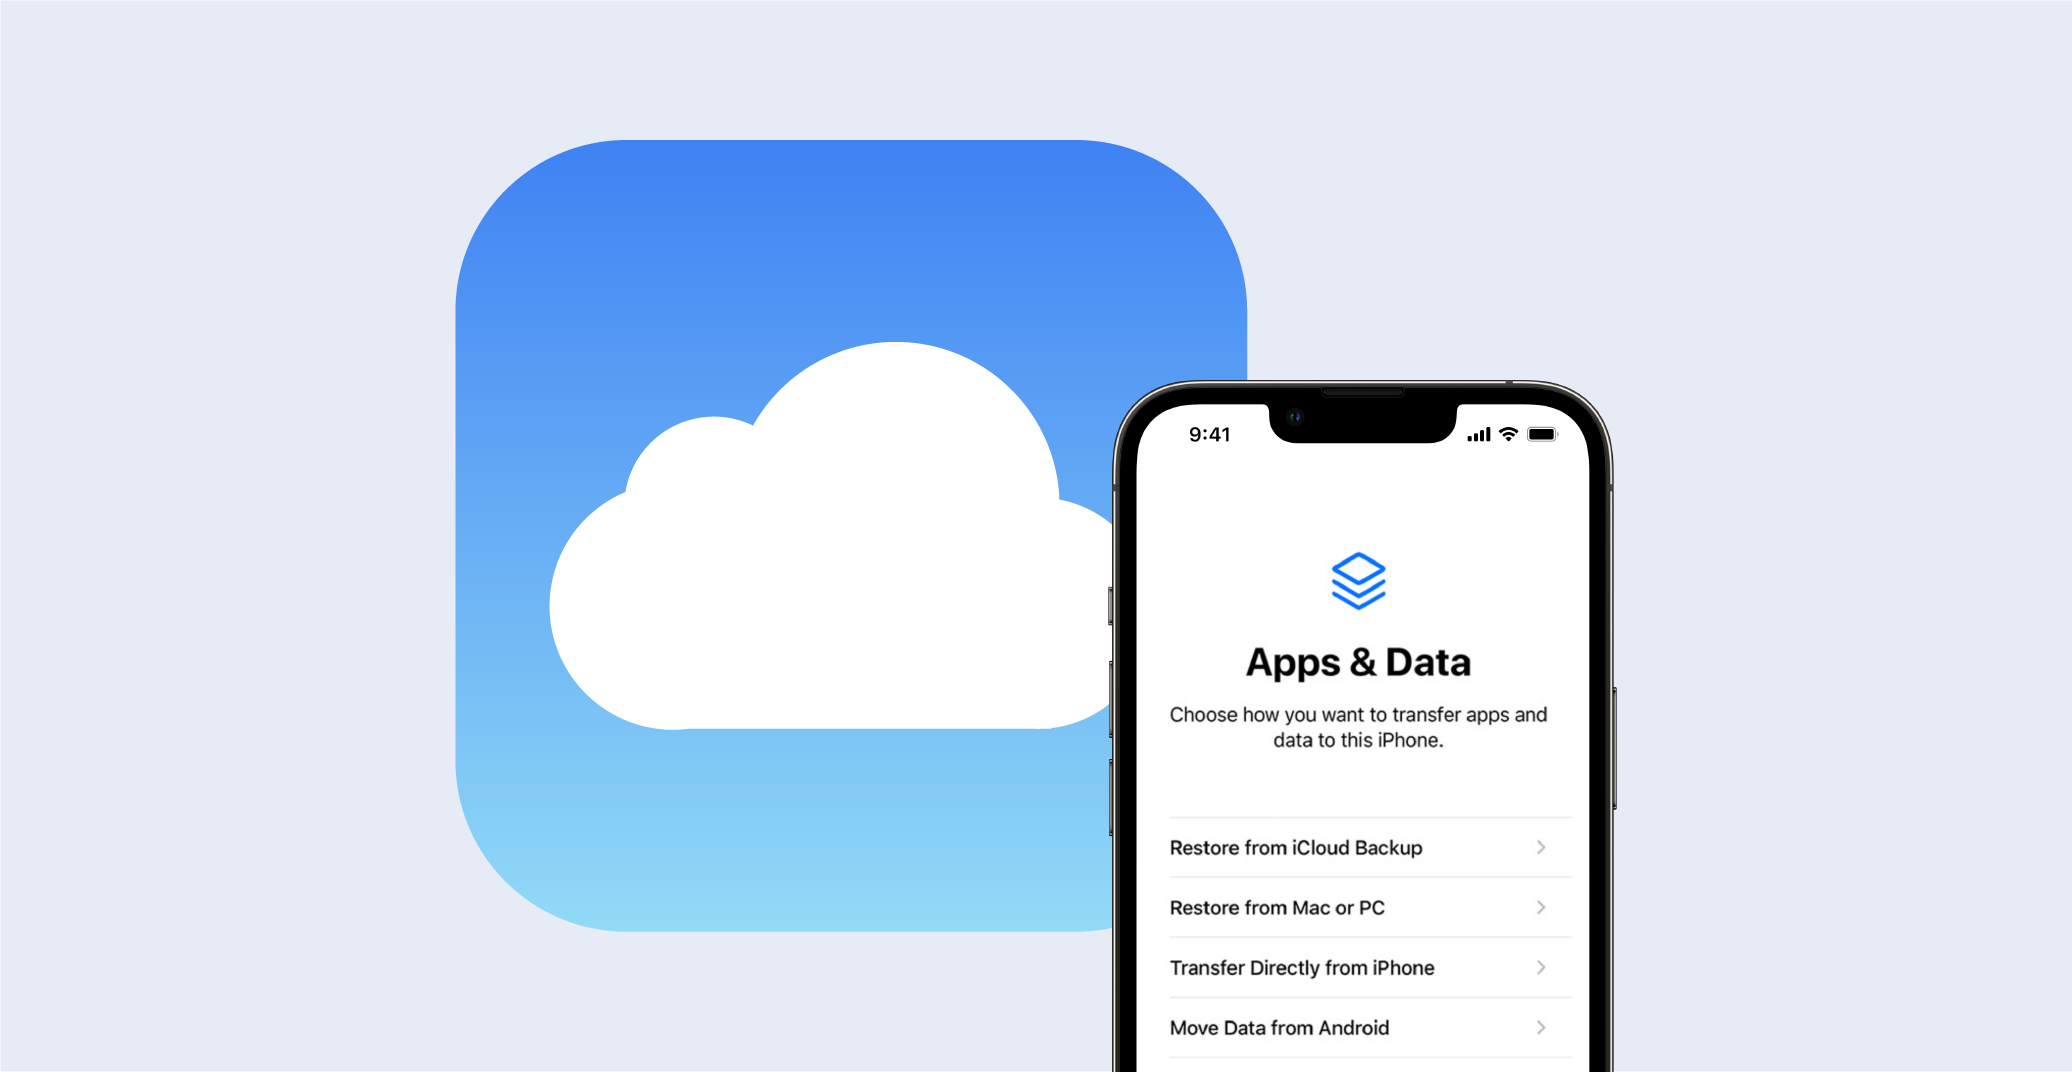
You will have a number of options to restore your data on the following screen. "Restore from iCloud Backup" is the first choice; tap it. iCloud will now ask you to log in with your Apple ID.
You will get a list of available backups after logging in. Unless you want to backdate your device to a certain day and time, pick the most recent. iOS might be telling you that you need to execute an upgrade right now. If this happens, let the update finish installing before trying to restore your device.
Your files, notes, and photographs will all be restored at this time. Restoring your apps is the subsequent step.
Step 5: Restore your apps
Once you're logged in, restoring previously purchased apps is simple:
Log in with your Apple ID to recover apps that have been purchased. While your device downloads all of the apps linked to that ID, stay connected to WiFi. If you have several Apple IDs, sign into each one separately and wait for the corresponding apps to download.
Depending on how many apps you have, this stage may take some time, so be prepared to wait.
Step 6: Finish the setup procedure
There are a few last-minute adjustments to do before your device is ready for use, once you have finished restoring your data and applications. To continue configuring your iOS device, follow the on-screen instructions.
You will be prompted to choose whether you want iOS upgrades to launch automatically or manually as well as if you want to share data with Apple for development purposes.
Additionally, you'll be prompted to configure default features like Screen Time, Apple Pay, and Siri. Once you've finished, a big congratulations is in order! Your iOS device has been fully restored from an iCloud backup.
Step 7 (Optional): Restore your smartphone using third-party software without performing a reset
Using an iCloud backup to restore your iOS device can be a laborious and time-consuming operation. It can take hours to perform a factory reset, download the backup, download your apps again, and, possibly, re-update iOS.
Going through the entire reset and restore process can be a major inconvenience if you just lost a tiny amount of data, such as a single image or a few texts. Fortunately, certain third-party applications, like EaseUS and MobiMover, let you selectively restore a small amount of data from an iCloud backup file without performing a complete reset.
Download the reset program of your choice to get started. Keep in mind that the majority of third-party reset software is not free, but it does provide a free trial that allows only you to download a certain amount of data. If this is an isolated incident, you can recover a few files using the trial at no cost.
How to recover an iCloud backup: Synopsis
You now understand how to backup an iOS device to iCloud and restore your device using that backup. One of the numerous advantages of this robust cloud storage service is the ability to use iCloud to backup your gadgets.
